 (1)")
How to Drill into Masonry: Essential Guide for Success
Successfully undertaking a home renovation project often involves tasks with complex requirements. One common challenge homeowners face is understanding how to drill into masonry. Properly drilling into masonry surfaces enhances both the aesthetics and functionality of your home. Whether you’re hanging shelves, installing fixtures, or undertaking other home improvement tasks, drilling into masonry is a crucial skill to master. In this guide, we’ll break down the method step by step, ensuring you achieve the best results.
Understanding Masonry
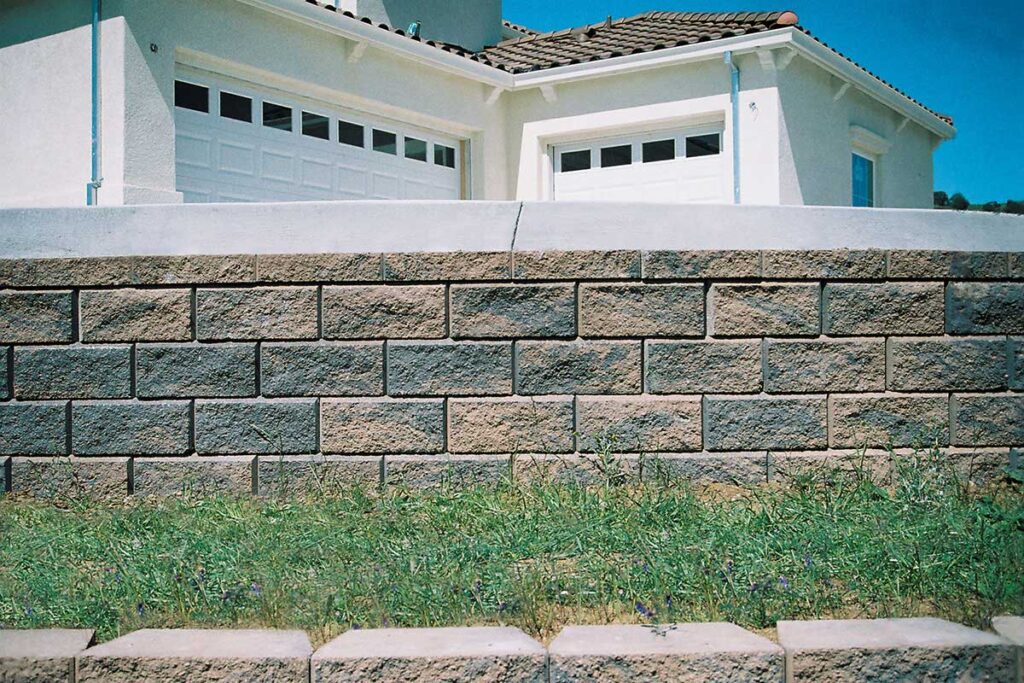
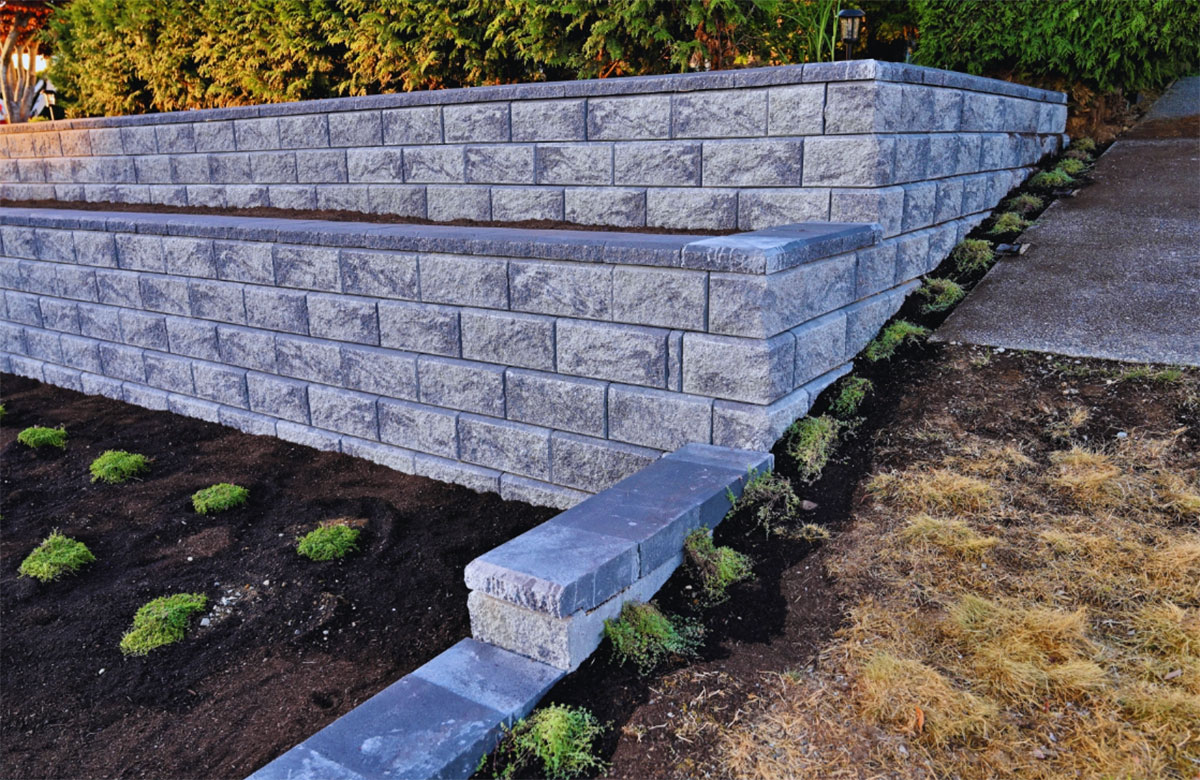
Masonry is a construction technique involving the use of materials like bricks, stones, and concrete blocks. It is a popular choice for its durability, fire resistance, and aesthetic appeal. To deepen your understanding of masonry, you might explore resources on what masonry work involves.
Tools You Need
Essential Tools
To drill into masonry, you’ll need the right tools. Key tools include:
- Borer drill
- Masonry bits
- Hammer
- A stiff brush or compressor
- Safety gear such as goggles and gloves
Choosing the Right Drill
The type of drill you choose greatly influences the outcome of your project. Opt for a drill with a hammer function to efficiently break up the tough surfaces of masonry. This was discussed in a detailed article on brick masonry, which explains the importance of tool selection.
Preparation Steps
Inspecting the Surface
Before starting, inspect your surface. Check for any existing damage or weak spots on the masonry work to prevent further issues. A well-maintained surface provides a solid foundation for drilling.
Measuring and Marking
Precise measurement ensures accuracy. Use a tape measure and a pencil to mark the drill points clearly. Planning your drill points accurately prevents errors later on.
Step-by-Step Drilling Guide
Setting Up Your Drill
Fix the masonry bit securely into your drill chuck. Make sure it is tightly fitted to avoid any wear or dislodgment during use.
Drilling Procedure
Begin drilling at a slow speed to create a guide hole. Once the initial entry is made, increase the pressure and speed incrementally. Ensure the drill remains perpendicular to the wall to maintain a clean, straight hole. This is similar to techniques used in renovating old fireplaces, which also require careful precision.
Dealing with Obstructions
Should you encounter obstructions such as metal bars or pipes, stop immediately. Reassess the situation and adjust your drill site if necessary to avoid damage.
Aftercare and Maintenance
Cleaning the Surface
After drilling, clean the site thoroughly using a stiff brush or a compressor to remove dust and debris. This ensures the integrity of the drilled hole.
Sealing Drill Holes
Sealing the area around your new hole helps prevent moisture ingress. A simple sealant can be applied to maintain the masonrys durability and appearance.
FAQs About Drilling into Masonry
Is Special Equipment Needed?
Yes, a hammer-function drill and masonry bits are essential for effective drilling.
Can All Masonry be Drilled?
Most masonry can be drilled, but always inspect the surface beforehand to avoid potential damage.
What’s a Common Mistake?
A common mistake is not using a hammer drill, which compromises efficiency and safety.
Ready to enhance your home with masonry work? Learning how to drill into masonry properly saves time and ensures a professional finish. For comprehensive articles on similar topics, explore budget-friendly backyard renovations and other home improvement guides.
This article contains affiliate links. We may earn a commission at no extra cost to you.