 (1)")
How to Repair Masonry: A Homeowner’s Comprehensive Guide
When it comes to home renovations, knowing how to repair masonry is an invaluable skill for any homeowner. Not only can this save on professional costs, but it also ensures your property remains structurally sound and aesthetically appealing. In this article, we will delve into the step-by-step process of repairing masonry, highlighting the tools, materials, and techniques necessary to tackle this task effectively.

Understanding Masonry and Its Components
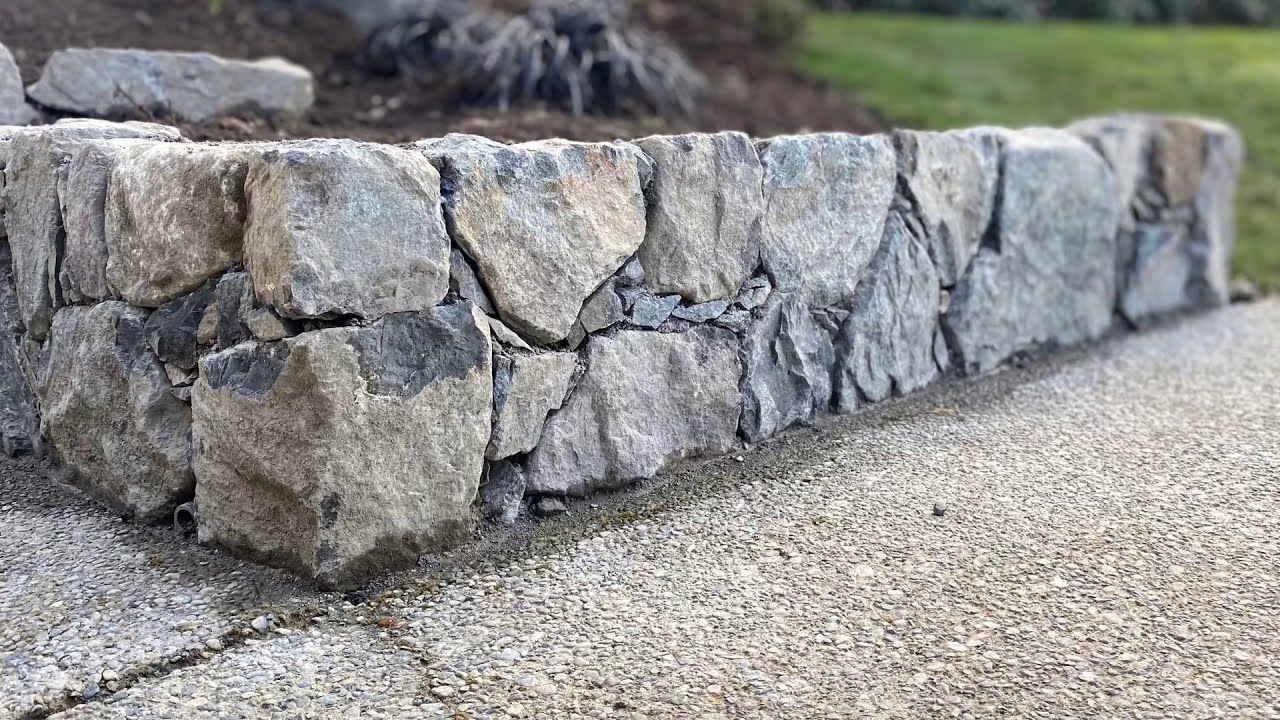
Before diving into repairs, it is essential to understand what masonry entails. Masonry construction involves building structures from individual units bonded together with mortar. Common materials include bricks, stones, and concrete blocks, which can be arranged in various patterns for structural and decorative purposes.
Masonry is valued for its durability, fire resistance, and energy efficiency. However, over time, it is subject to wear and tear, which necessitates repair to maintain its integrity and beauty.
Identifying Masonry Problems
Before attempting any repairs, you need to identify the specific masonry issues affecting your property. Common problems include:
- Cracks: These may occur due to settling, moisture, temperature fluctuations, or structural issues.
- Efflorescence: This is the white powdery substance that appears on masonry surfaces when water evaporates and leaves mineral deposits behind.
- Spalling: Spalling happens when the surface of masonry breaks away due to freeze-thaw cycles or moisture penetration.
- Bulging: This is a sign of structural instability, often caused by moisture or inadequate support.
Gathering the Right Tools and Materials
Having the proper tools and materials at hand is crucial for a successful masonry repair project. Essential tools include a trowel, hammer, chisel, wire brush, and a level. As for materials, you’ll need mortar mix, replacement bricks or stones, and a sealer.
For minor issues, you might find that purchasing a masonry repair kit is convenient. These kits often contain everything you need to address small cracks and other minor damages.
Preparing the Site for Repairs
Preparation is key to a successful repair. Begin by cleaning the masonry with a brush and water to remove dirt, debris, and any loose material. If you’re dealing with efflorescence, use a solution of water and vinegar to clean the surface thoroughly.
Next, inspect the area for any signs of moisture or water damage. Address any sources of moisture to prevent future problems.
Repairing Cracks in Masonry
Repairing cracks is among the most common masonry repair tasks. Follow these steps:
Step 1: Cleaning the Crack
Use a chisel and wire brush to remove any loose material from the crack. The idea is to have a clean surface for the mortar to adhere to.
Step 2: Mixing the Mortar
Prepare the mortar by following the instructions on the package. It should have a thick, peanut butter-like consistency.
Step 3: Filling the Crack
Use a trowel to apply the mortar into the crack, ensuring a snug fit that fills the entire gap. Smooth the surface with the trowel for an even finish.
Step 4: Curing the Mortar
Allow the mortar to cure according to the manufacturer’s directions. This usually involves keeping the area moist for several days.
Addressing Efflorescence on Masonry
Efflorescence is typically a cosmetic issue but can indicate underlying water intrusion problems. To remove it, try the following method:
Step 1: Dry Brushing
Use a dry, stiff brush to remove as much of the powdery residue as possible.
Step 2: Vinegar Solution
Create a mixture of equal parts vinegar and water, then apply it to the affected area using a brush.
Step 3: Rinse and Repeat
Rinse the area with clean water and repeat the process as needed. If efflorescence returns, consider checking for and resolving any waterproofing issues.
Repairing Spalling Bricks
Spalling is not only unsightly but can also compromise structural integrity. Fortunately, repairing it is straightforward:
Step 1: Removing Damaged Bricks
Carefully chisel out the damaged bricks and clean the cavity of any debris.
Step 2: Applying Mortar
Apply a layer of mortar to the bottom and sides of the cavity.
Step 3: Installing New Bricks
Place the new bricks into the cavity, pressing them firmly into the mortar. Ensure they are level with the surrounding bricks.
Step 4: Sealing the Surface
After the mortar has cured, apply a masonry sealer to protect the new bricks and surrounding area from moisture.
Preventing Future Masonry Problems
Maintaining your masonry is vital to prevent future issues. Regular inspections can help identify potential problems early. Keep an eye on water drainage around your home and ensure gutters and downspouts direct water away from your masonry structures.
For more comprehensive measures, consider hiring a professional masonry contractor. If you’re interested in learning more about the role these contractors play, [this article](https://chicagobrickco.com/what-do-masonry-contractors-do/) provides an excellent overview.
Final Thoughts
Now that you know how to repair masonry, you’re equipped to tackle these tasks and help maintain your home’s appeal and structure. Although some repairs might seem daunting, with the right tools, materials, and patience, you can complete these projects successfully.
FAQs
What is the most common cause of masonry damage?
The most common cause of masonry damage is water intrusion, which can lead to cracking, spalling, and efflorescence.
Can I repair masonry myself?
Yes, many masonry issues can be addressed with DIY methods, provided you have the necessary tools, materials, and knowledge.
How often should I inspect my masonry?
Regular bi-annual inspections help catch issues early, but more frequent checks may be needed if you live in areas with extreme weather conditions.
For more guidance on similar masonry topics, such as building a masonry chimney or understanding masonry repair, you can explore further resources.
This article contains affiliate links. We may earn a commission at no extra cost to you.